Potatoes are one of my favorite crops to grow and one of my favorite things to eat. I’ve grown them just about every way you can imagine, but one method keeps winning me over for how little effort it takes: set a seed potato on the soil, cover it with straw, and let it grow.
No trenches. No burying each potato several inches deep. And at harvest time, you mostly pull back mulch rather than dig through the bed.
This is the Ruth Stout method, and we put it to work with about 12 seed potatoes. The result was a solid harvest for very little labor, though not our biggest haul from this approach. A few mistakes made the difference, especially when it came to straw coverage and moisture.
Key Takeaways
- Surface planting under straw removes most of the digging from planting and harvesting potatoes.
- Space sprouted seed potatoes 12 to 18 inches apart beneath 6 to 8 inches of straw.
- Maintain thick mulch coverage throughout the season to protect developing potatoes from light.
- Our smaller potatoes suggested that better moisture management could improve the harvest.
Table of Contents
- What Is the Ruth Stout Potato-Growing Method?
- Choose Your Seed Potatoes Before You Plant
- How to Grow Potatoes Under Straw
- The Three-Week Check: Sprouts and a Little More Straw
- The Harvest: Pull Back the Straw and Find the Potatoes
- What I’d Change Next Time
- Is This Lazy Potato Method Worth Trying?
What Is the Ruth Stout Potato-Growing Method?
The usual way to plant potatoes is straightforward: dig 4 to 6 inches deep, place a seed potato with its eyes facing up, and cover it with soil. Green shoots emerge after a couple of weeks, the plant grows over the following months, and eventually the foliage browns and dies back. Then you dig up your potatoes.
There’s absolutely nothing wrong with that. But when I first started gardening, I came across Ruth Stout’s The No-Work Garden Book, and her approach offered a much lazier alternative.
Instead of burying the seed potatoes, Stout placed them on the soil surface and covered them with a thick layer of mulch. She was known for using hay. We prefer straw because it generally brings along fewer weed seeds.
The mulch replaces the soil covering, not the soil itself. The seed potatoes still sit against the ground, where the plants can establish roots. The straw above them helps retain moisture and keeps light away from developing tubers.
That last job is critical. Potatoes exposed to light can turn green, which is a food-safety concern, not just a cosmetic issue. If you aren’t covering your potatoes with soil, you need enough mulch to keep them protected.
Choose Your Seed Potatoes Before You Plant
For this experiment, I chose Red Norland, a delicious, productive determinate variety. Determinate potatoes produce their crop more or less together in one zone, which makes them a good fit for this simple surface-planting approach.
The goal here isn’t to keep piling soil up around the plants. It’s to let the potatoes develop under a protective blanket of straw.
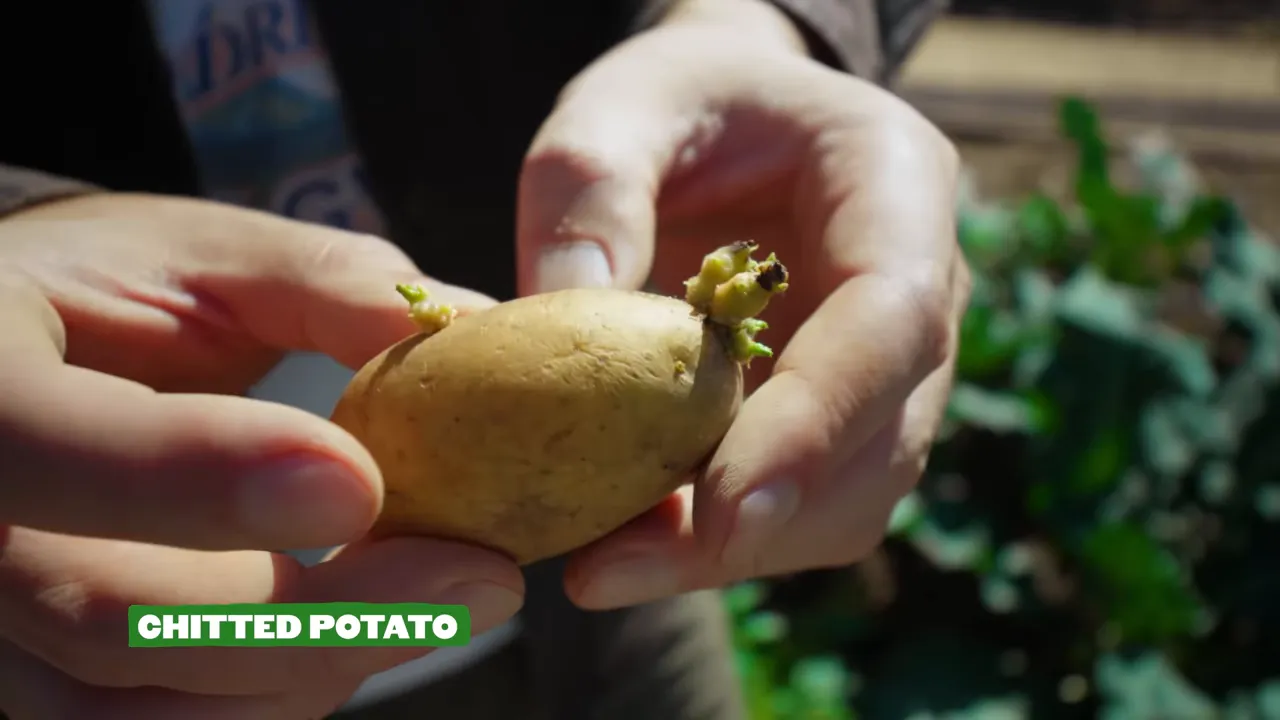
I also recommend starting with chitted seed potatoes. Chitting simply means the eyes have already begun producing little shoots. An unsprouted seed potato can still grow, but starting with visible sprouts speeds up that initial stage.
Here’s the basic setup we used:
- Whole, sprouted Red Norland seed potatoes.
- A garden bed with exposed soil.
- Enough straw to make a covering about 6 to 8 inches deep.
- A hand trowel for making shallow depressions, if desired.
That trowel is optional. This is not a trench-digging operation.
How to Grow Potatoes Under Straw
1. Set the potatoes against the soil
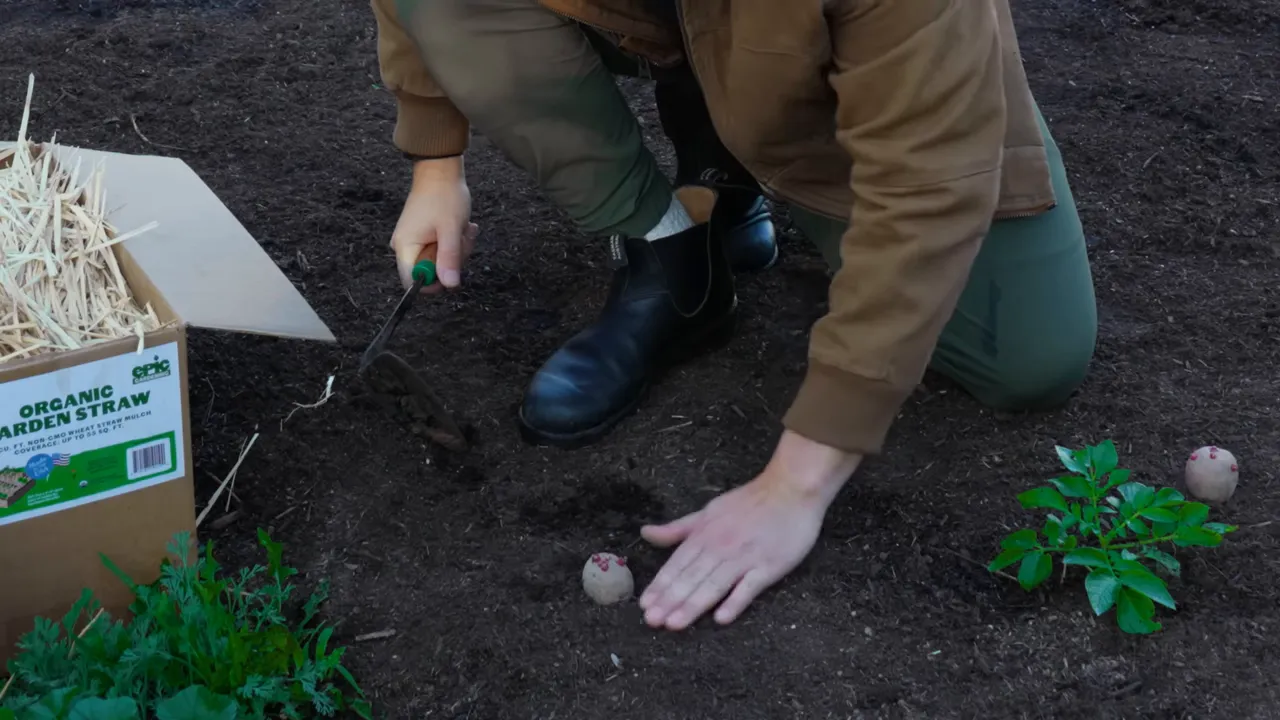
Place each seed potato directly on the soil with its eyes facing upward. If you want a little extra contact with the ground, use a trowel to make a shallow depression and gently nestle the potato into it.
That’s all I did. I nudged each potato into place without burying it. Most of the potato remained above the soil surface, which feels a little ridiculous if you’re used to conventional planting. That’s part of the charm.
2. Space them 12 to 18 inches apart
Give each seed potato at least 12 inches of space, or about 18 inches if you have the room. These plants can be productive, and crowding them isn’t the goal.
One nice thing about surface planting is that you can see your entire layout before covering anything. It’s easy to check the spacing and move a potato if needed.
3. Cover with 6 to 8 inches of straw
Now comes the most important part: pile on the straw. I recommend an initial layer about 6 to 8 inches tall, with thorough coverage over every seed potato.
A light scattering won’t do the same job. You need enough material to block light and help hold moisture underneath. Think generous blanket, not decorative garnish.
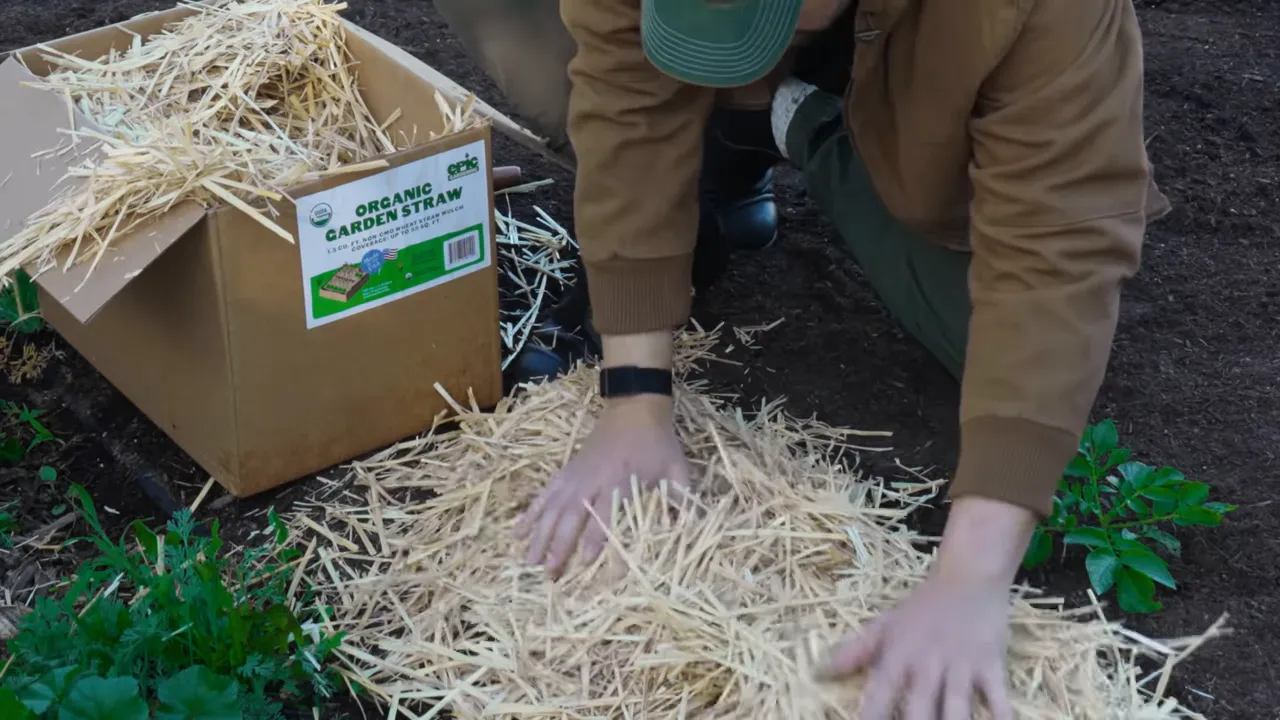
We used our Epic Organic Garden Straw for this planting. It’s also useful for mulching other garden crops, so it doesn’t have to be a potato-only purchase. You can find it in our store if you’d like to use the same material.
The Three-Week Check: Sprouts and a Little More Straw
Three weeks after planting, shoots were emerging across most of the bed. The surface-planted potatoes were up and growing, just as we’d hoped.
At that point, I could have left them alone. Instead, I added a little more straw around the plants to reinforce the covering.
Remember, these seed potatoes were barely pressed into the ground. There wasn’t a layer of soil above them as backup. Any gaps in the straw could allow light through to the tubers.
Check the coverage as the plants grow, and add straw wherever it looks thin. This is a small amount of maintenance, but it protects the crop you’re waiting for. Low effort is great. Losing potatoes to light exposure is not.
It’s also worth keeping the distinction between moisture retention and watering clear. Straw helps hold moisture, but it doesn’t create it. Our harvest would later give us a pretty good reminder of that.
The Harvest: Pull Back the Straw and Find the Potatoes
A couple of months after that check, the front section of the planting was ready to harvest. The foliage had largely died back, and on some plants there was almost nothing left of the stem.
I brought a potato fork, mostly for moral support. With this method, the potatoes should be right beneath the straw, and that’s where we found them.
Harvesting was mostly a matter of brushing the mulch aside and collecting the clusters by hand. The first plant gave us roughly six potatoes, or seven if we counted a tiny one. The next produced about seven as well. Other plants had smaller clusters.
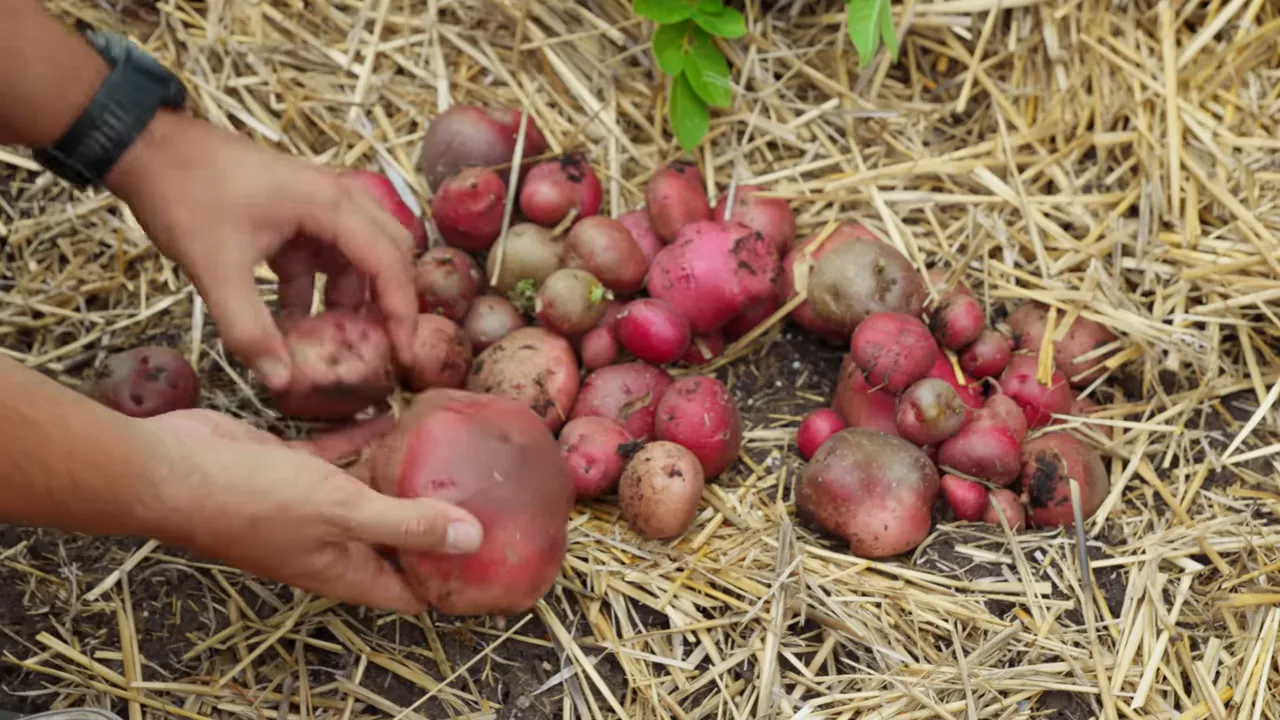
We also came across the original seed potatoes. One had rotted, while another was still intact and trying to sprout again. Finding the old seed potato isn’t the same as finding a newly grown tuber, so I kept that distinction in mind while checking each cluster.
And yes, I accidentally grabbed a rotten potato. That was easily the least enjoyable part of this otherwise very pleasant harvest.
There was no final weighed yield for this planting, so I wouldn’t put a precise production number on it. But we collected a useful pile of potatoes from seed tubers we had essentially set on the ground and covered.
What I’d Change Next Time
This experiment proved the method works with very little labor. It also showed that “no work” and “maximum harvest” aren’t necessarily the same thing.
Use even more straw
Despite the initial covering and the extra straw at three weeks, some potatoes showed signs of sun exposure. My biggest adjustment would be more complete mulch coverage throughout the season.
Don’t use a casual glance at a potato as a guarantee that it’s safe to eat. Set green potatoes aside rather than treating greening as harmless. For additional guidance on growing, harvesting, and handling potatoes, the University of Minnesota Extension has a useful potato-growing guide.
Pay more attention to moisture
Several potatoes were smaller than I’d expect from Red Norland grown this way. My suspicion is that the roots didn’t get enough moisture to size the tubers up properly.
That’s a grower adjustment, not proof that surface planting can only produce small potatoes. We’ve used the same variety and method in a previous experiment and had a much larger harvest. I estimated that repeating those better results could have roughly doubled what we collected here, though that wasn’t a measured comparison.
Next time, I’d give this area more attention when watering and use a thicker straw covering to help preserve that moisture.
Inspect for pests without assuming every bug is guilty
There were plenty of pill bugs in the straw. They can damage potatoes, but they also feed on decomposing organic material, and I didn’t see evidence that they had caused widespread damage here.
We did find one potato that had been eaten almost hollow. It looked like a little potato geode. I couldn’t identify what caused that damage, so I wouldn’t blame the pill bugs just because they were nearby.
The practical lesson is to inspect what you harvest. A mulch-based system still deserves a quick check for feeding damage, rot, and light exposure.
Is This Lazy Potato Method Worth Trying?
For the effort involved, absolutely. We skipped deep planting holes, skipped soil hilling, and harvested mostly by moving straw aside. Even with uneven sizing and a few damaged potatoes, we ended up with a solid crop.
The biggest lesson isn’t that you can ignore every need a potato plant has. It’s that you can remove a surprising amount of digging from the process.
Start with sprouted seed potatoes, space them well, cover them generously, and keep an eye on moisture and light protection. Those small bits of attention are where I’d spend my energy before reaching for a shovel.
You don’t have to work harder to grow potatoes. Sometimes you just need a thicker blanket of straw.


